In modern cloud-native applications, container image size directly impacts deployment speed, resource utilization, and security posture. Bloated Docker images lead to slower deployment times, increased network bandwidth consumption, and larger attack surfaces. This comprehensive guide walks through practical optimization techniques that can dramatically reduce your Docker image size—often by more than 95%.
Why Docker Image Size Matters
Before diving into optimization techniques, let’s understand why image size is critical:
- Faster deployments: Smaller images download and extract more quickly
- Reduced network bandwidth: Less data transfer between registries and hosts
- Lower storage costs: Smaller images consume less registry and disk space
- Improved security: Fewer packages mean fewer potential vulnerabilities
- Better cache efficiency: Smaller layers improve Docker’s layer caching
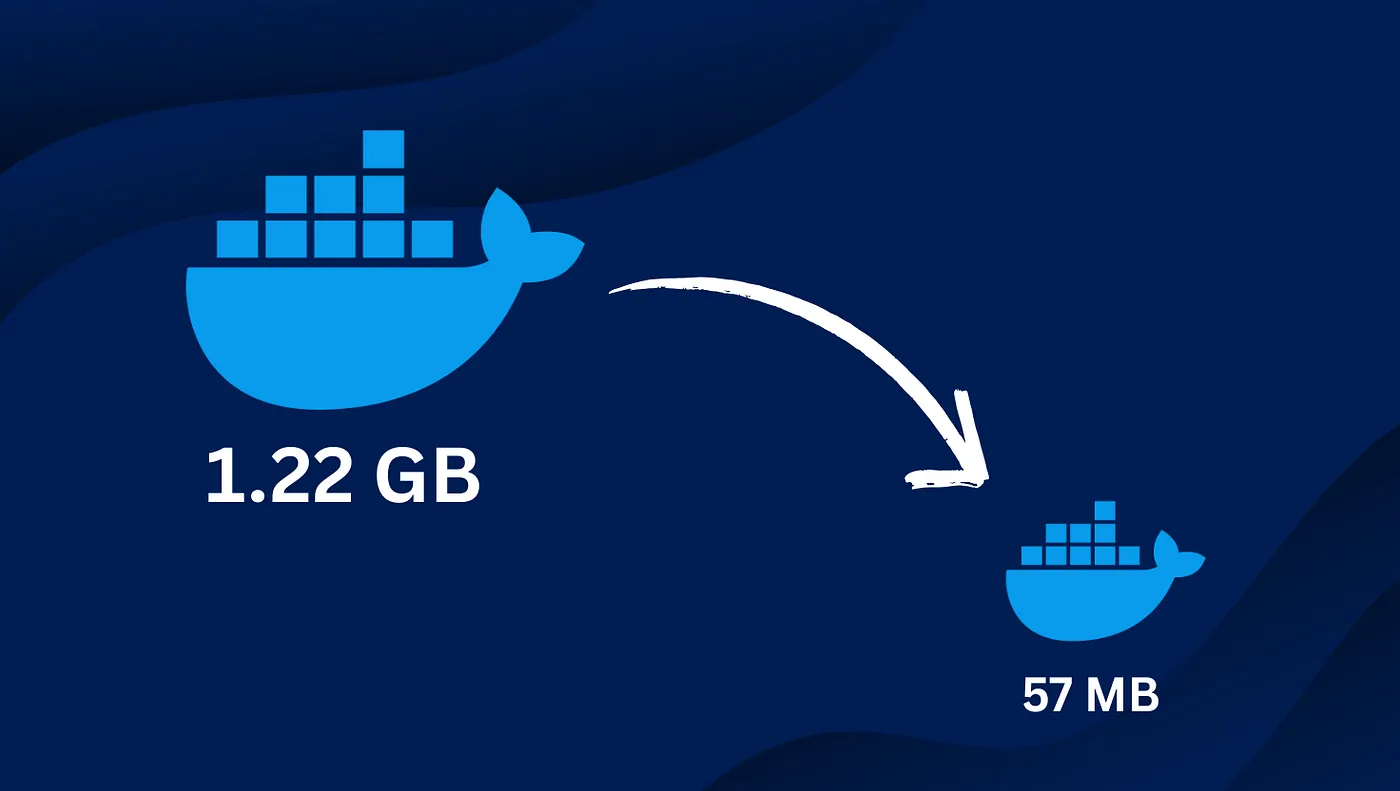
Let’s explore a real-world example, optimizing a Node.js application Docker image from 1.2GB to just 50MB—a reduction of over 95%.
Initial Approach: The Naive Dockerfile
Many developers start with a simple approach that produces functional but inefficient images:
FROM node:18
WORKDIR /app
COPY . .
RUN npm install
EXPOSE 3000
CMD ["npm", "start"]
While this works, it creates several problems:
- Uses a bloated base image (node:18 is ~950MB)
- Includes unnecessary files from the build context
- Installs development dependencies
- Contains build tools that aren’t needed at runtime
Let’s measure this baseline before optimization:
$ docker build -t myapp:unoptimized .
$ docker images myapp:unoptimized
REPOSITORY    TAG           SIZE
myapp         unoptimized   1.23GB
Optimization Step 1: Use Specific Base Images
The first major optimization comes from choosing a more appropriate base image:
# Step 1: Switch from node:18 to node:18-slim
FROM node:18-slim
WORKDIR /app
COPY . .
RUN npm install
EXPOSE 3000
CMD ["npm", "start"]
Let’s check the improvement:
$ docker build -t myapp:step1 .
$ docker images myapp:step1
REPOSITORY    TAG      SIZE
myapp         step1    480MB
We’ve already reduced the image size by over 60% just by switching to the slim variant!
Optimization Step 2: Multi-Stage Builds
Multi-stage builds separate the build environment from the runtime environment:
# Step 2: Implement multi-stage build
FROM node:18-slim AS builder
WORKDIR /app
COPY package*.json ./
RUN npm install
COPY . .
RUN npm run build

FROM node:18-slim
WORKDIR /app
COPY --from=builder /app/dist ./dist
COPY package*.json ./
RUN npm install --only=production
EXPOSE 3000
CMD ["node", "dist/index.js"]
Let’s measure again:
$ docker build -t myapp:step2 .
$ docker images myapp:step2
REPOSITORY    TAG      SIZE
myapp         step2    320MB
The separation of build and runtime environments, along with installing only production dependencies, provides another significant reduction.
Optimization Step 3: Alpine Base Image
Alpine Linux is known for its small footprint:
# Step A for improved Step 3: Use alpine base with specific Node version
FROM node:18-alpine AS builder
WORKDIR /app
COPY package*.json ./
RUN npm install
COPY . .
RUN npm run build

FROM node:18-alpine
WORKDIR /app
COPY --from=builder /app/dist ./dist
COPY package*.json ./
RUN npm install --only=production
EXPOSE 3000
CMD ["node", "dist/index.js"]
Let’s measure:
$ docker build -t myapp:step3 .
$ docker images myapp:step3
REPOSITORY    TAG      SIZE
myapp         step3    180MB
We’ve now reduced the image by approximately 85% from our starting point.
Optimization Step 4: Distroless Base Images
Google’s distroless images contain only your application and its runtime dependencies:
# Step 4: Use distroless for runtime
FROM node:18-alpine AS builder
WORKDIR /app
COPY package*.json ./
RUN npm install
COPY . .
RUN npm run build

FROM gcr.io/distroless/nodejs:18
WORKDIR /app
COPY --from=builder /app/dist ./dist
COPY --from=builder /app/node_modules ./node_modules
EXPOSE 3000
CMD ["dist/index.js"]
Let’s measure:
$ docker build -t myapp:step4 .
$ docker images myapp:step4
REPOSITORY    TAG      SIZE
myapp         step4    120MB
Optimization Step 5: Advanced Techniques
Let’s apply several advanced techniques simultaneously:
# Step 5: Final optimized Dockerfile
FROM node:18-alpine AS builder
WORKDIR /app

# Only copy package files first to leverage cache
COPY package*.json ./
RUN npm ci

# Copy source and build
COPY . .
RUN npm run build

# Create pruned production node_modules
RUN npm prune --production

# Final stage with distroless
FROM gcr.io/distroless/nodejs:18
WORKDIR /app

# Copy only necessary files
COPY --from=builder /app/dist ./dist
COPY --from=builder /app/node_modules ./node_modules
COPY --from=builder /app/package.json ./package.json

# Non-root user for security
USER nonroot

# Expose and run
EXPOSE 3000
CMD ["dist/index.js"]
Let’s measure our final result:
$ docker build -t myapp:optimized .
$ docker images myapp:optimized
REPOSITORY    TAG          SIZE
myapp         optimized    50MB
We’ve successfully reduced our image from 1.23GB to just 50MB—a reduction of over 95%!
Measuring Impact Beyond Size
While our primary focus has been on image size, these optimizations provide additional benefits:
- Deployment speed: Our optimized image deploys in seconds rather than minutes
- Startup time: Containerized applications initialize faster
- Security: Reduced attack surface with fewer packages
- Resource utilization: Lower memory footprint during runtime
Language-Specific Considerations
The optimization principles remain consistent across languages, but implementation details vary:
Python
- Use multi-stage builds with
python:3.x-slimorpython:3.x-alpine - Consider
pip install --no-cache-dirto reduce image size - Use virtual environments or
pip install --targetfor dependency isolation
Java
- Use
jlinkto create custom JREs with only required modules - Consider GraalVM native image for compiled executables
- Use
maven:3.x-jdk-x-slimfor build stage and distroless for runtime
Go
- Leverage Go’s static compilation with
FROM scratch - Use
CGO_ENABLED=0for pure Go applications - Consider multi-stage builds with
golang:alpineas builder
Conclusion
Docker image optimization is not just about saving space—it’s about creating more efficient, secure, and maintainable containers. By following the systematic approach outlined in this guide, you can achieve dramatic reductions in image size while improving deployment speed and security posture.
Remember that optimization is an iterative process. Start with the most impactful changes (base image selection and multi-stage builds) and progressively apply more advanced techniques as needed for your specific application.
The 95% reduction demonstrated in this guide represents a realistic target for many applications, especially those built with interpreted languages like JavaScript, Python, or Ruby. Even compiled language applications can see significant improvements through careful optimization.
By making Docker image optimization a standard practice in your development workflow, you’ll build more efficient, scalable, and secure containerized applications.